|
Process of Assembling Patch Cord |
|
|
|
 |
|
Following chart shows a process of Patchcord assembling.
Assembling process will be changed depending on type of connector and cable. |
| ※Following chart is adapted to SC, FC, LC, MU. |
|
|
| Chart of Assembling Patch Cord |
|
|
|
|
|
|
|
|
| 1, Fiber cutting |
 |
|
|
Cut the fiber by fiber cutting machine.
At first, roll up the fiber and the
tip of the fiber insert the fiber cutting machine and set up quantity and
length. |
|
 |
|
|
|
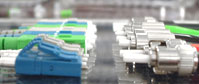
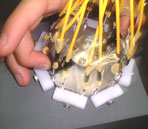
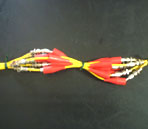
| 2, Assemblimg |
 |
|
|
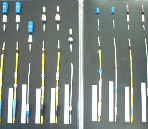
Assemble component parts one by one and tie the fiber in bundle. |
|
|
|
|
|
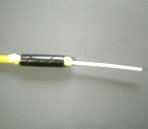
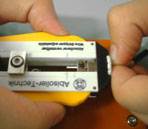
| 3, Band for Kevlar |
 |
|
|
Remove the enclosure by a wire stripper and band Kebler by spiral tube. |
|
|
|
|
|
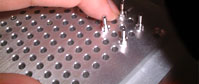
| 4, Fiber core |
 |
|
|
Using buffer removal equipment, remove the buffer and then remove primary
coating by ethanol. |
|
|
|
|
|
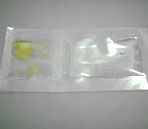
| 5, Adhesive(Two component adhesive) |
 |
|
|
ECrumple the two component adhesive (EPO-TEK 353ND) pack until 2 different
adhesive is mixed completely.
Using pre-heating equipment, heat adhesive
until no air bubble are rising from adhesive.(About 15 minutes) |
|
|
|
|
|
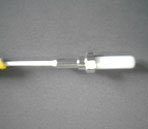
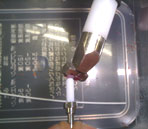
| 6, Pour adhesive |
 |
|
|
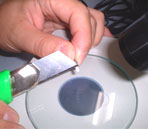
Using dispenser, pour adhesive into ferrule.
Insert a needle of dispenser
into the inner part of ferrule and pull out a needle pouring adhesive. |
|
|
|
|
|
|
|
|
| 8, Adhesion heating |
 |
|
|
Set ferrule to the heat holder completely and start heating due to adhesive
curing, |
|
|
|
|
|
|
|
|
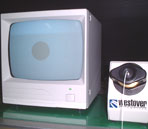
| 10, Inspect outward appearance |
 |
|
|
Using a microscope, flaws or stains on connector are checked visually.
When you will find any flaws or stains, clean them using cutter knife. |
|
|
|
|
|
|
|
|
| 12, End-face polishing |
 |
|
|
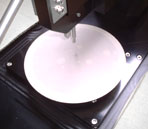
After fitting ferrule to the holder, polish them into 4 steps by optical fiber
polishing machine. |
|
|
|
|
|
|
|
|
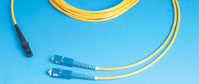
| 14, Finish Assembling |
 |
|
|
Assemble each parts correctly.in case using adhesive, 2 component dhesive is
recommended. |
|
|
|
|
|
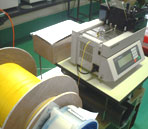
| 15, IL/RL measuring |
 |
|
|
Before measuring insertion loss/bsckreflection, prepare the correct master code,
detector and adapter. |
|
|
|
|
|
| 16, End-face inspection |
 |
|
|
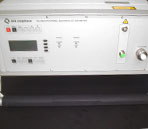
Using 3D vision end face measuring instrument, inspect end-face shape, fiber
core eccentricity, ferrule concentricity.
Calibration will be done every day
or changing holder jig. |
|
|
|
|
|
|
|
|
|